How To Make Candles at Home in 10 Steps
If you’re looking for a fun DIY experience that you can do from the comfort of your home, candle making could be perfect for you! You’ll need a handful of materials, but most of these can be found lying around the house.
The hardest part of making candles at home is picking your scents as the choices can be endless!
In this post, we will share a list of the supplies you will need, you will learn the basic steps required for making candles at home, and we will share some of our favorite places to pick up candle making supplies for new candle makers!
Materials you will need to make candles

Grab your supplies and materials, much of which can be found lying around the house.
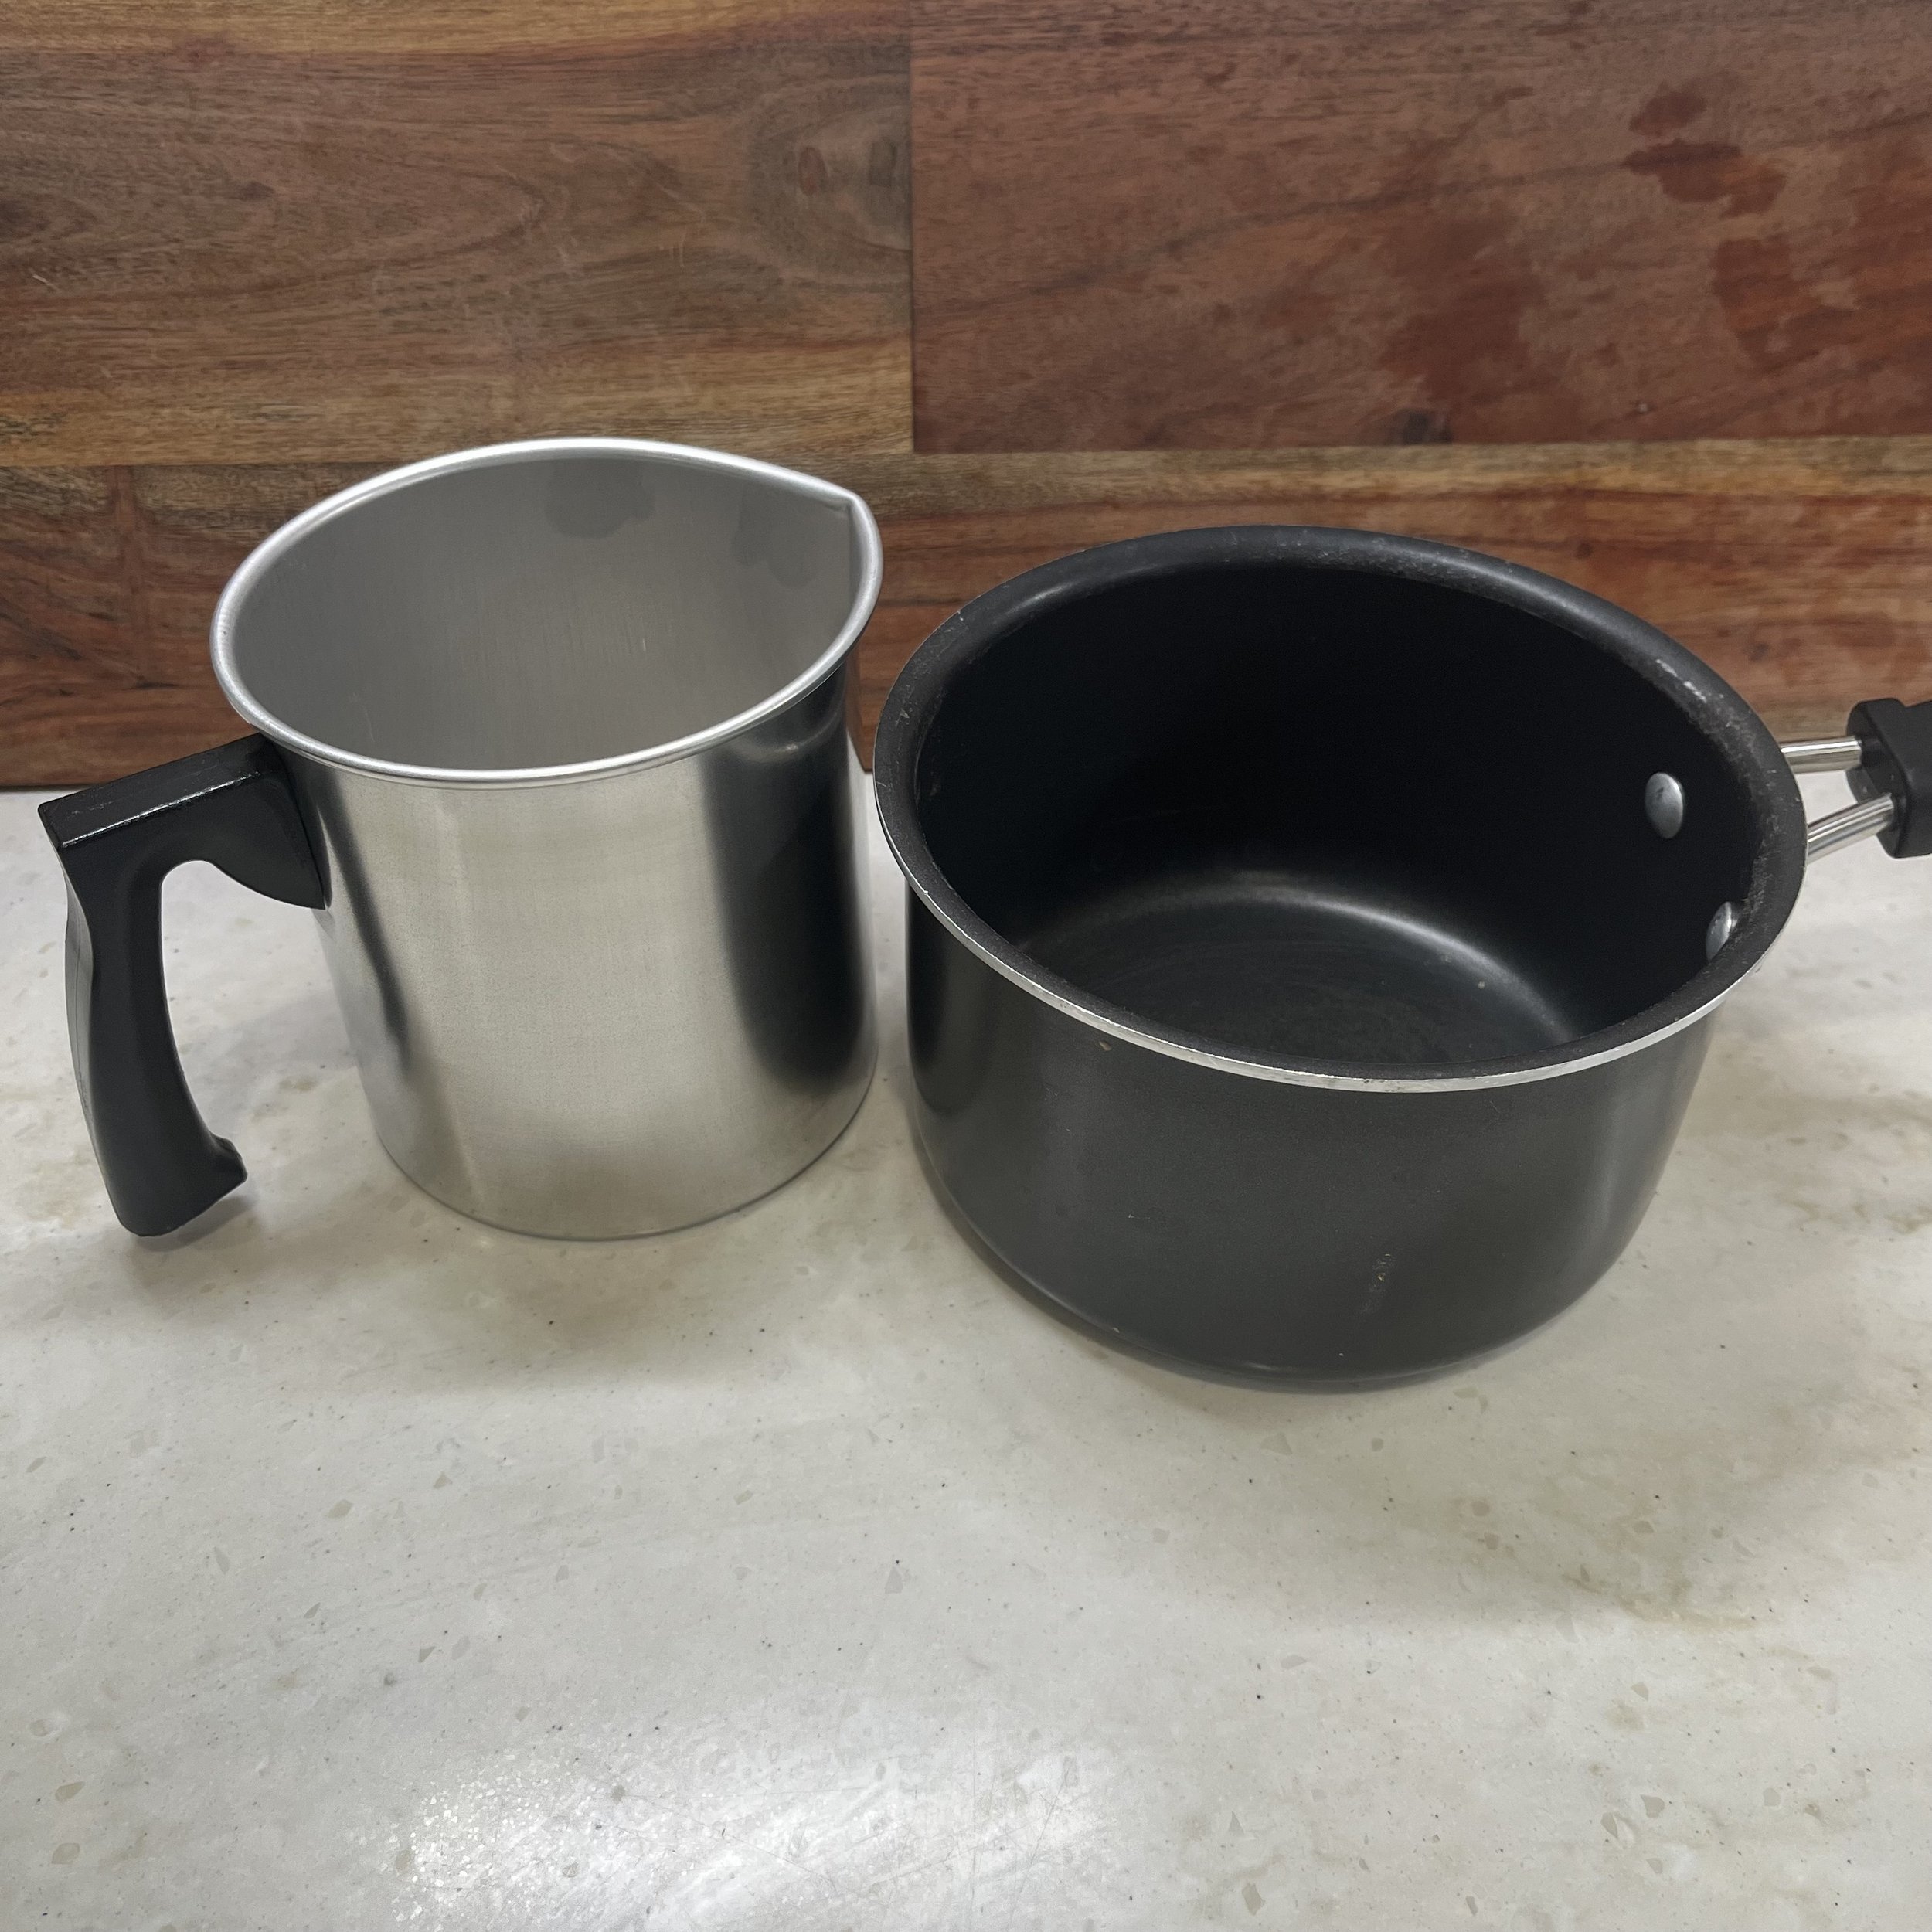
Pot and Bowl for Double Boiler: Double boilers are commonly used in candle making because they heat the wax evenly as it melts. A double boiler can simply be a pot of water that you put on your stove with a metal container that you put into the water. You heat the water with the stove which warms the metal container holding your wax. It’s kind of like making cheese fondue!
Spoon: You will need something to stir your wax and fragrance oil!
Thermometer: Use a digital infrared thermometer or a deep-fry thermometer to measure the temperature of your wax.
Popsicle sticks or pencils: Use these to center and stabilize the wick while the wax cools. You will need popsicle sticks, pencils, chopsticks, or other lightweight, straight objects.
Paper towels: Don’t get wax on all your kitchen towels! Paper towels are ideal for cleaning up wax drips as well as cleaning your spatula and the bowl you used in your double boiler.
A food-grade scale: The ratio of wax to fragrance oil matters if you want to make a strong-scented and clean-burning candle.
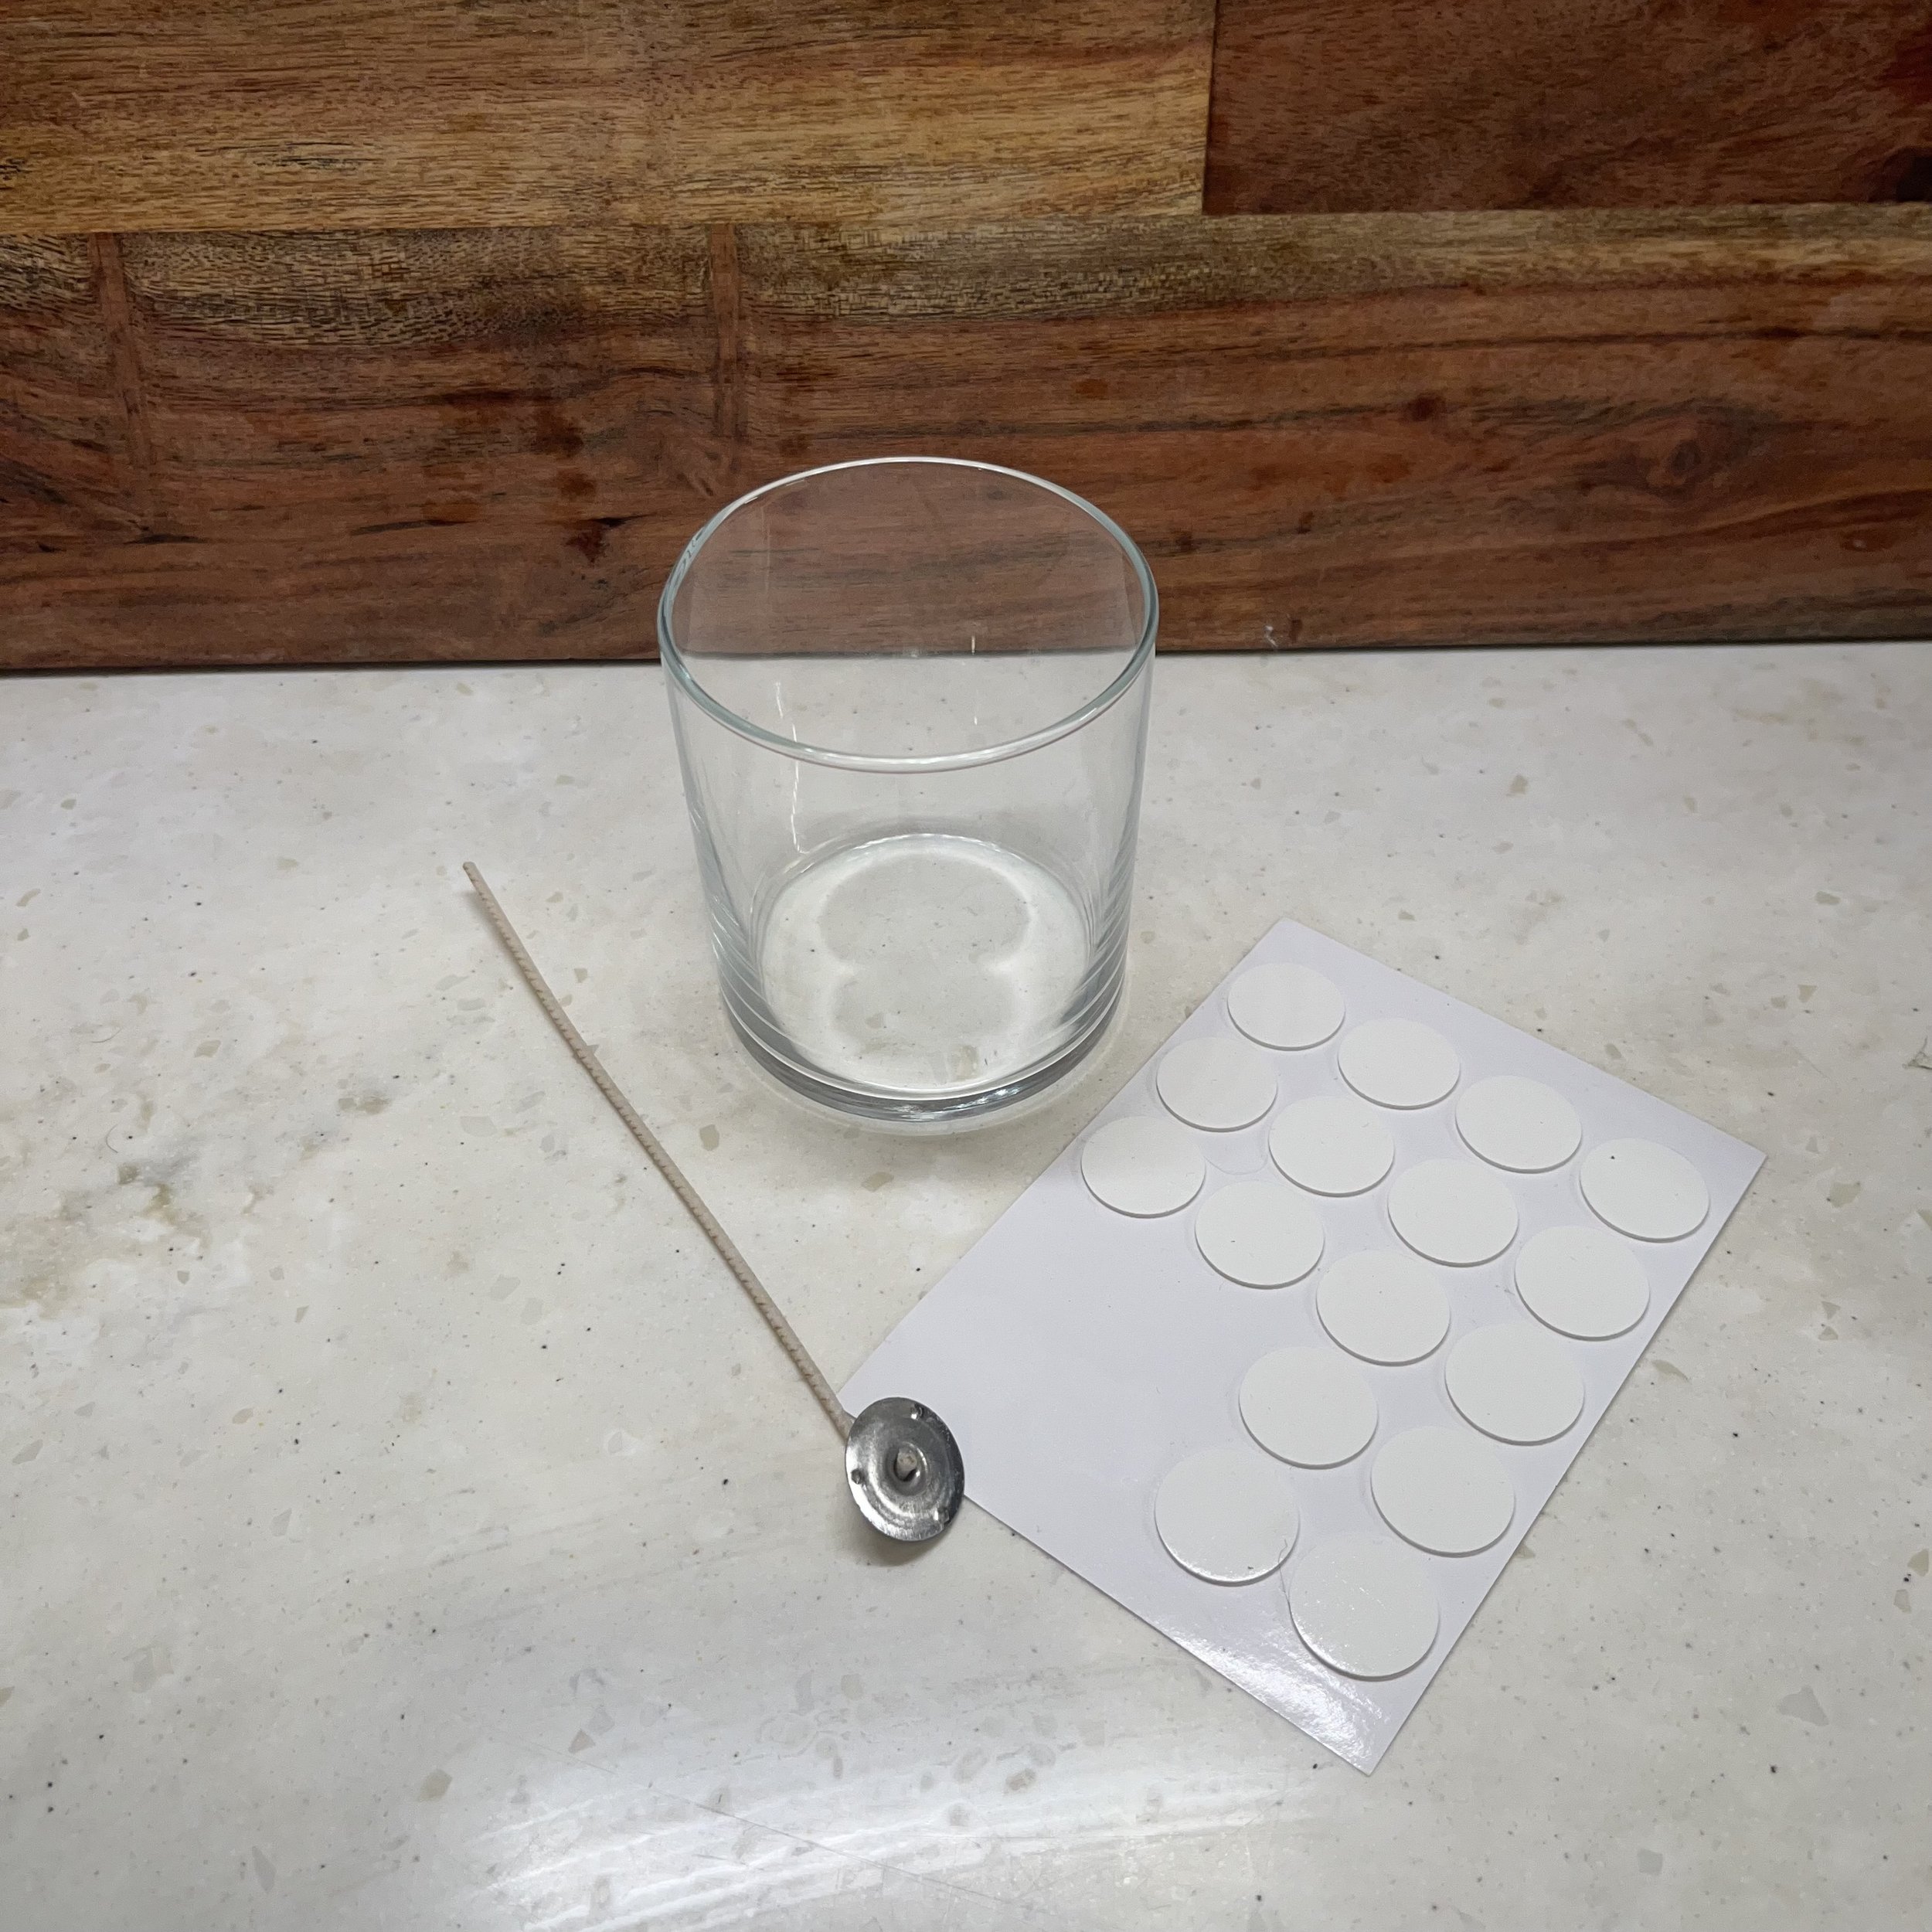
Wick stickers: You’ll need to grab some wick stickers that are used to secure your wick to the base of your vessel.
Supplies you will need to make candles
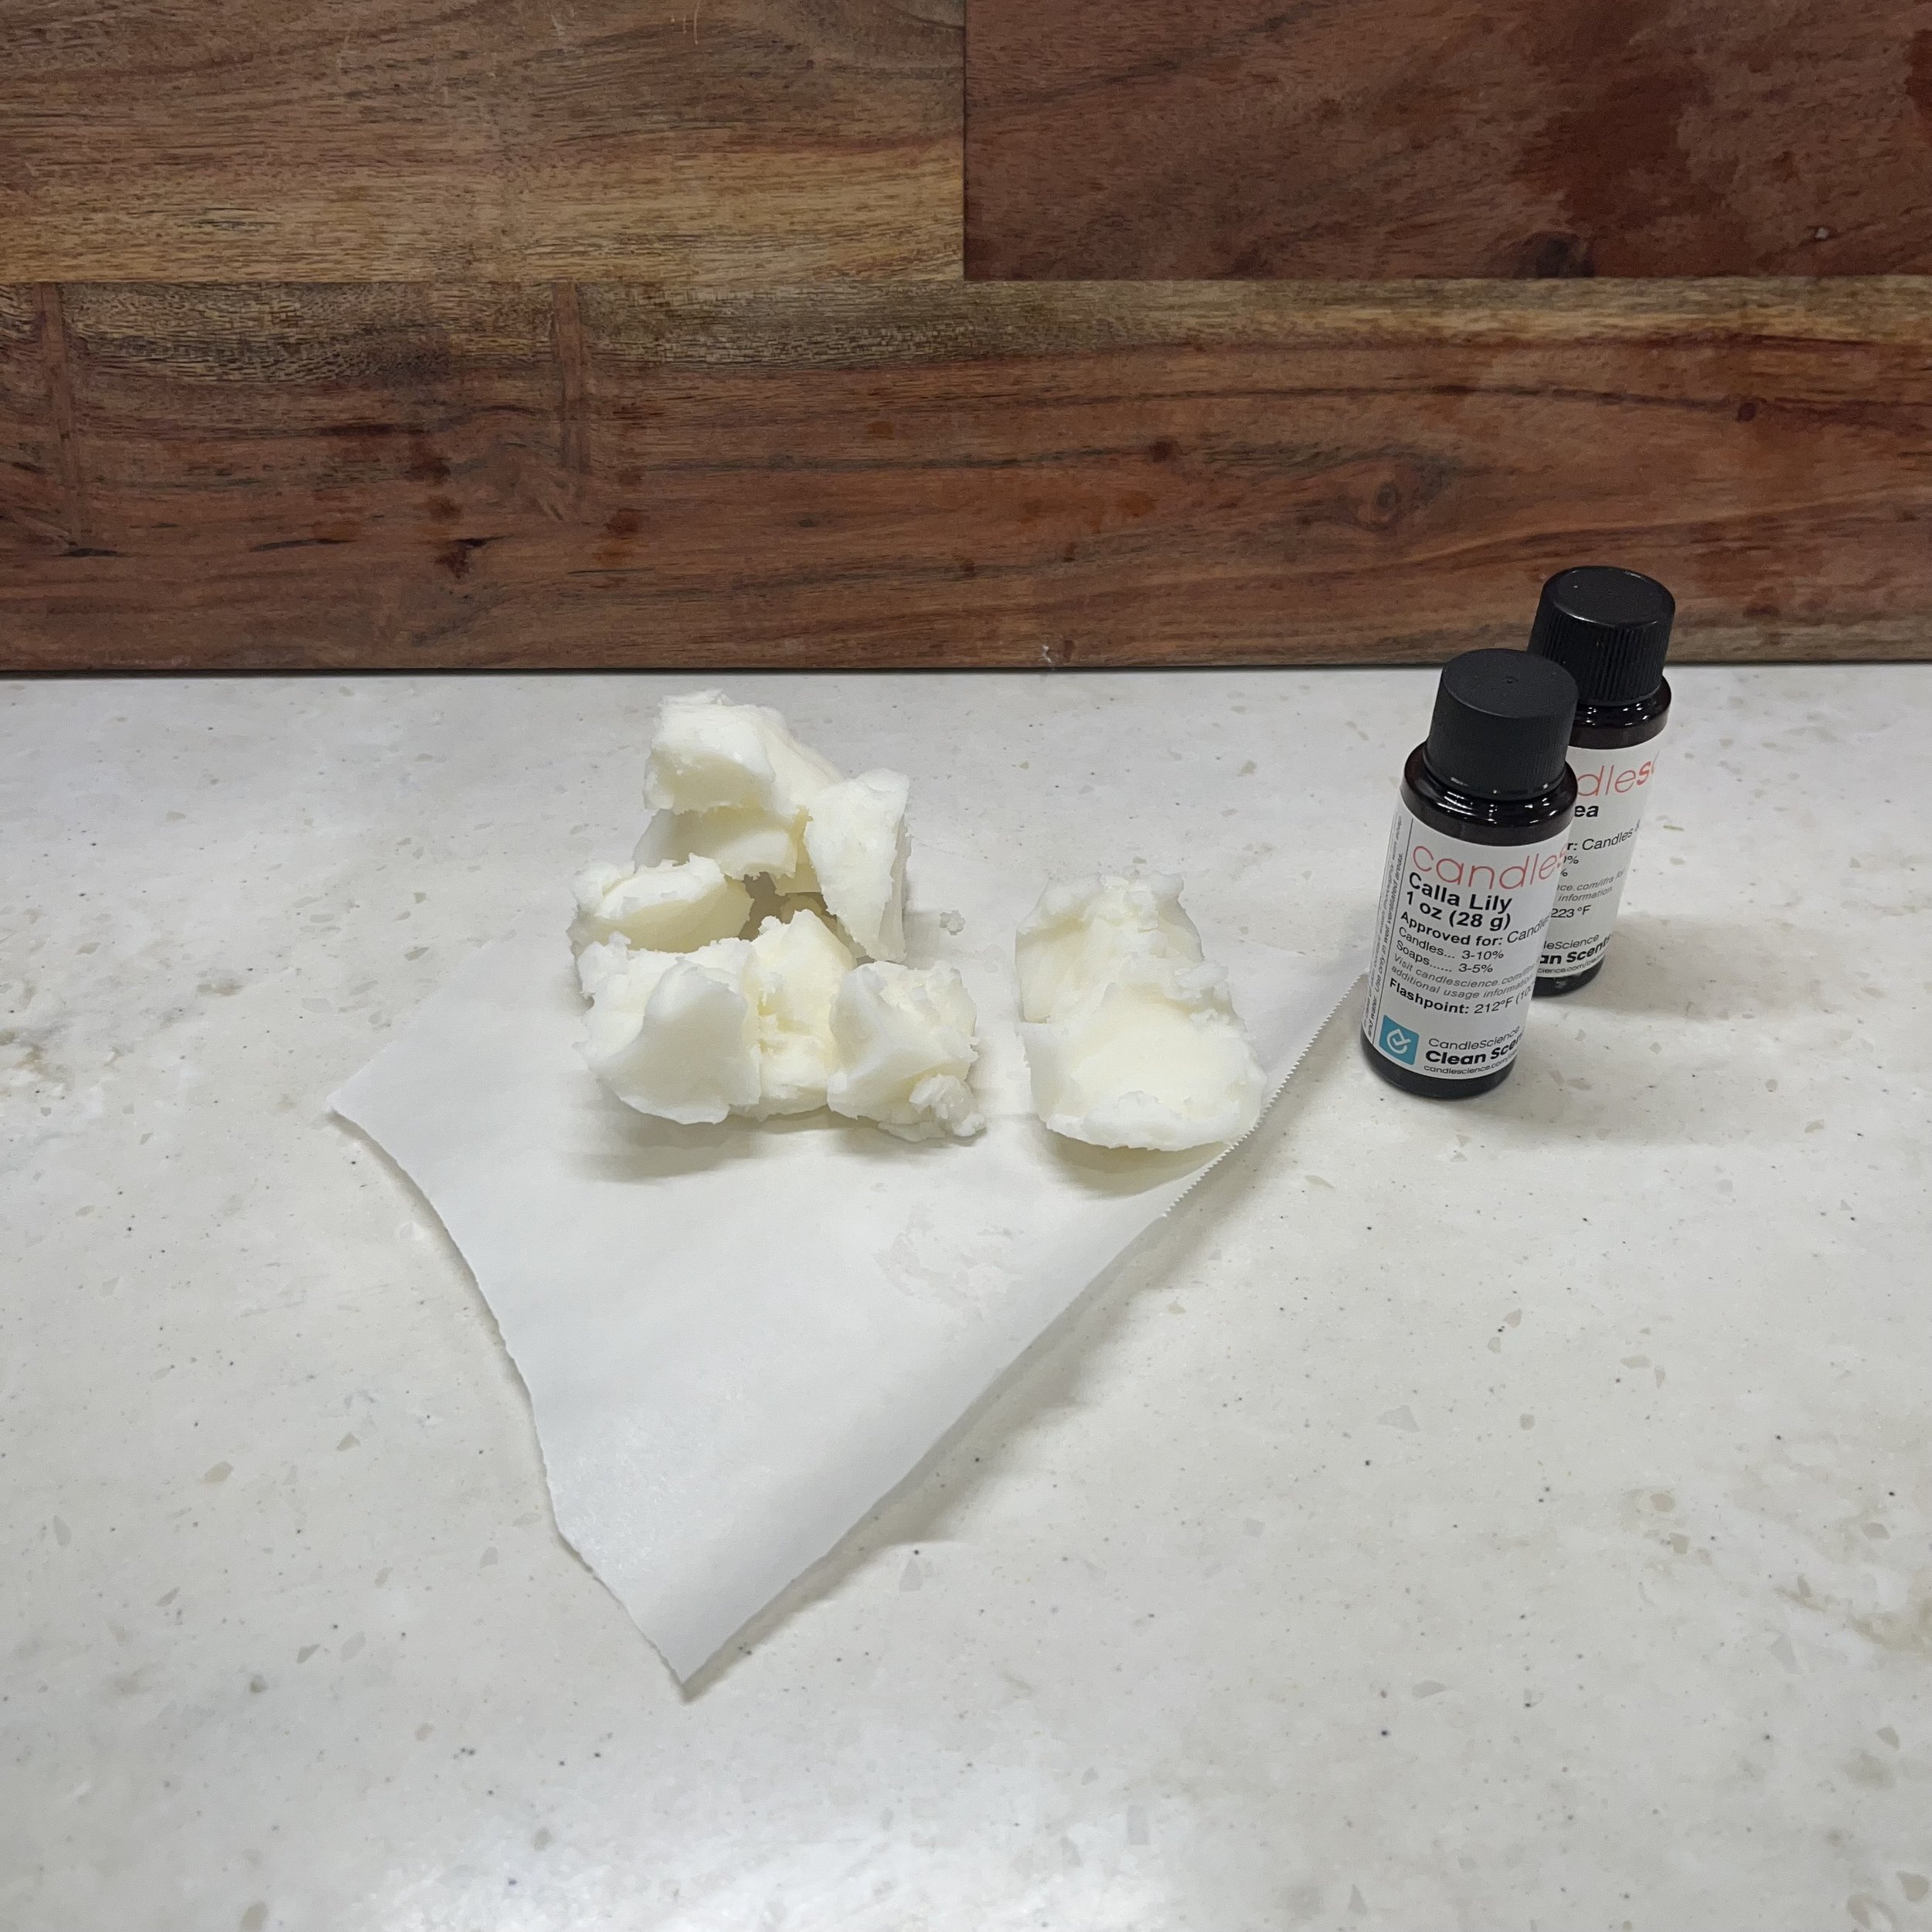
Wax: Common waxes for candle making include soy, coconut, paraffin, beeswax, or a hybrid blend that combines a few of these waxes.
Wicks: The wick acts like a straw in a milkshake drawing the fuel from the candle up to the flame when it’s lit. Wicks are commonly made of paper, cotton, zinc, or wood. Believe it or not, wicks used to be made with lead (but this was banned back in 2003)!
Fragrance oils: Scented candles get their aroma from fragrance oils designed specifically for candle making. You can find almost any type of fragrance oil, and this is the fun part where you get to personalize your candle!
Vessel: Find a heat-proof container (look in your recycling bin!) or head to one of our recommended supplier sites to pick out your choice of candle vessel.
See our list of suppliers at the bottom of the page for a few places where you can buy some supplies!
10 Steps to make candles at home
Step 1: Gather your Materials and Supplies
Before you begin, set out all the materials and supplies listed above. The entire process should take about an hour once you have all your supplies ready to go!
Step 2: Wick your vessels
Start by taking your wick and your wick stickers, attach the two, and place the wick in the center of your vessel. Once your wick is set, you can move your vessel off to the side!
Vendors who sell candle making supplies typically provide a wick guide based on the type of wax you use and the size vessel you have. Find one of these guides to help you pick the right size wick for your wax and vessel combination.
Step 3: Measure the wax
Your candle should be made of mostly wax. Take your scale and measure out 12 ounces of solid wax.
Most candles perform best when the wax accounts for 93% of the candle and the fragrance oil accounts for the remaining 7%. Contrary to popular belief, adding more fragrance oil doesn’t make a stronger candle.
If you make a candle with too much oil / not enough wax, you may see liquid beads of oil pool on the top of the candle. A negative side effect of too much oil is that the candle can produce black soot.
Want to make candles, but don’t feel like gathering all the supplies to DIY at home?
Not to worry! Head over to a Cork & Candles Candle Bar and join us for a candle making experience!
Step 4: Melt the wax
Fill your pot with water and place it on the stove. Bring the water to a boil and then reduce it to a simmer. Place your 12 ounces of wax into your metal container that will be placed into your boiling pot. Place the metal container holding your solid wax into the simmering water and allow the warm water to transfer heat, melting your wax.
Once the wax is fully melted (should take about ten minutes), use your thermometer to read the wax temperature. The wax needs to heat to somewhere between 160 -185 degrees Fahrenheit.
Step 5: Add your fragrance
When your wax reaches the target temperature, remove the container holding the wax from the hot water. Add 1 ounce of your fragrance oil to the melted wax. Stir the wax and fragrance oil for about 30 seconds.
Notice above that we added 1 ounce of fragrance oil to 12 ounces of wax. This equals 7.7% fragrance oil and 92.3% wax in your candle, a perfect combination. Most suppliers sell fragrance oil in 1 ounce containers to make this convenient!
If you have more than 12 ounces of wax, you can follow this ratio to add more oil and ensure you maintain a perfect blend.
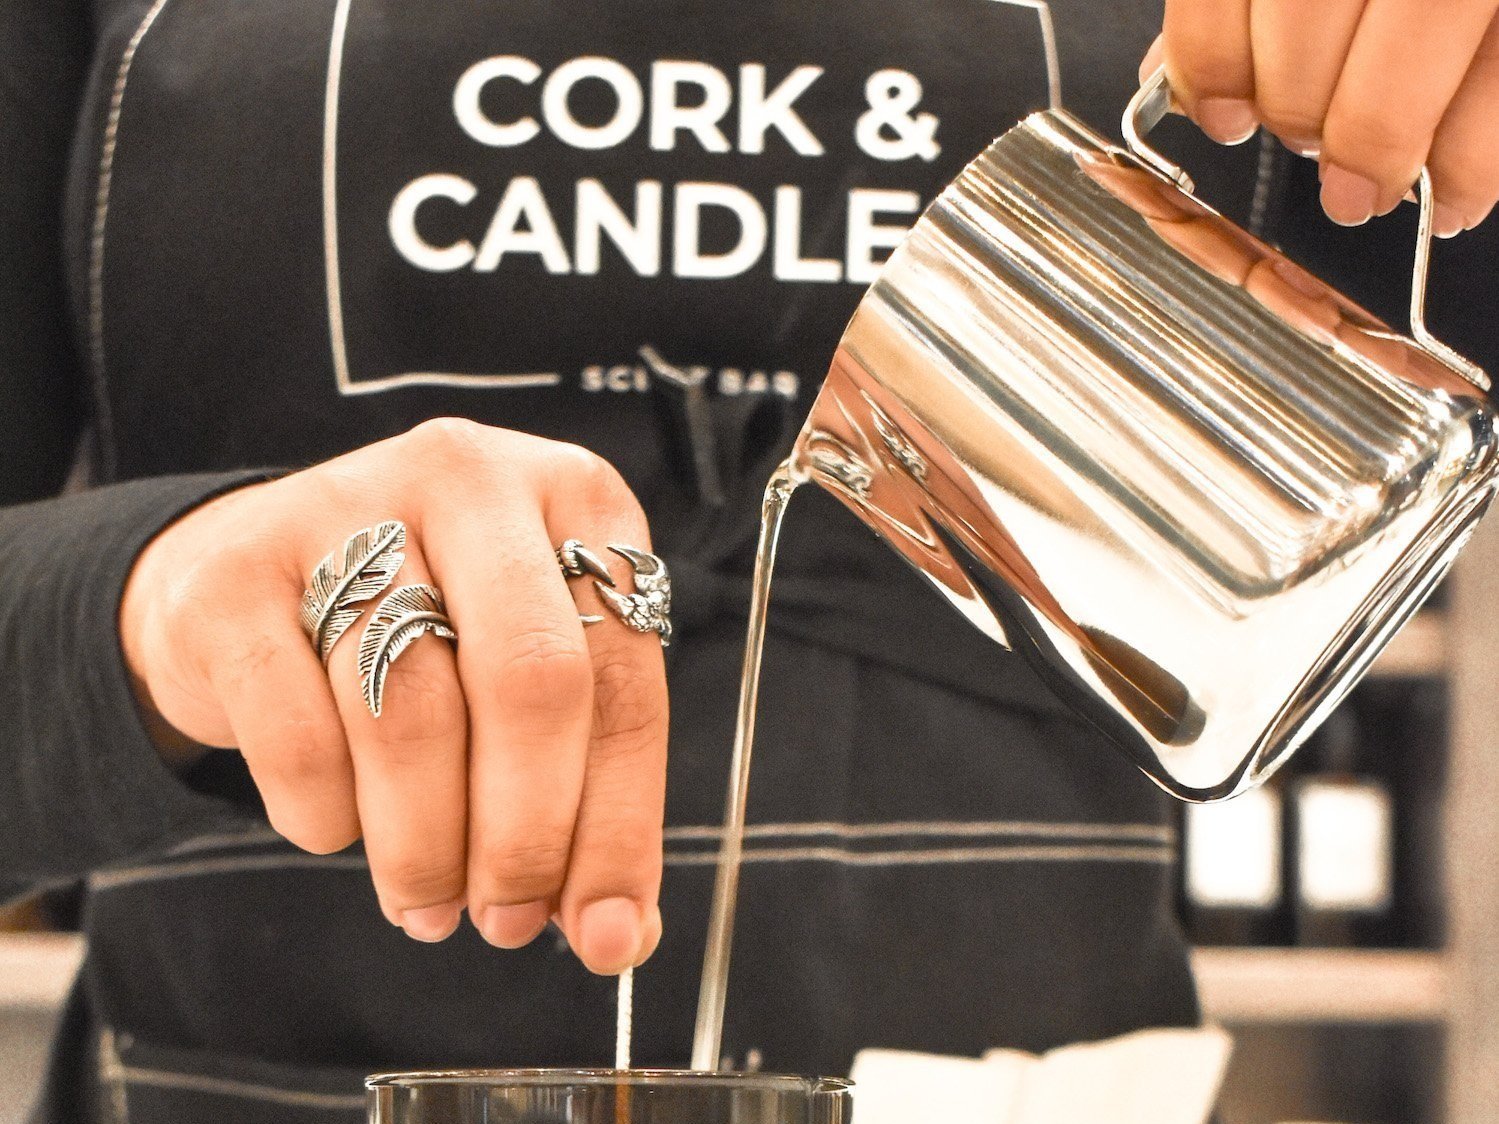
Step 6: Pour the wax
You can now pour your wax blend into your candle vessel.
Step 7: Stabilize the wick
Use your straight object (pencil, popsicle stick, etc.) to center your wick.
Step 8: Clean up
Use this time to clean up your production area. Your candles can take anywhere from 45 minutes to 3 hours to fully cool. Factors like the temperature the wax was heated to as well as the type of wax you used will influence how long it takes to cool.
Step 9: Let it cure
Curing your candles means waiting for a period before you light them. Similar to marinating chicken before a summer BBQ, you want to let the wax and fragrance oils marinate together (or cure). We recommend curing your candles for at least 7 days before you light them to improve the strength of the scent of your candles!
Step 10: Light your candles and enjoy!
Before you light your candles, make sure to trim your wick to ¼ of an inch. You want to trim your wick before each burn to remove any carbon build up left behind from the previous burn. This will help to extend the burn time of your candle, giving your candle a longer life, and it will result in a cleaner burning candle with less soot!

Where Friends Gather!
More than just a place to make candles!
Our tag line of Where Friends Gather is something we are passionate about. We want you to have fun when you visit as you spend time with the people who matter most, and we want you to love the candles you make!
Places to get candle making supplies
Candle making supplies can be found online at Amazon, locally in stores like Hobby Lobby, or from larger distributors like Candles and Supplies.
While we don’t sell candle supplies at Cork & Candles, we’d love to host you and help you discover a passion for candle making. From there, visiting a local Hobby Lobby or a regional distributor to dive into at-home candle making!